It is all too common that in showers, water leaks into the wall causing damage to the studs insulation and substrate holding the shower in place. This usually happens happens from a crack in the grout from where one shower wall meets another. The leakage that usually causes this type of damage is very often a small of water adding every day as you take a shower and occurs over the course of months, years and possibly decades. It can also happen between shower grout, but that usually occurs in older showers. Usually. But that will not be the focus of this article.
Do not use grout in shower wall corners or under benches

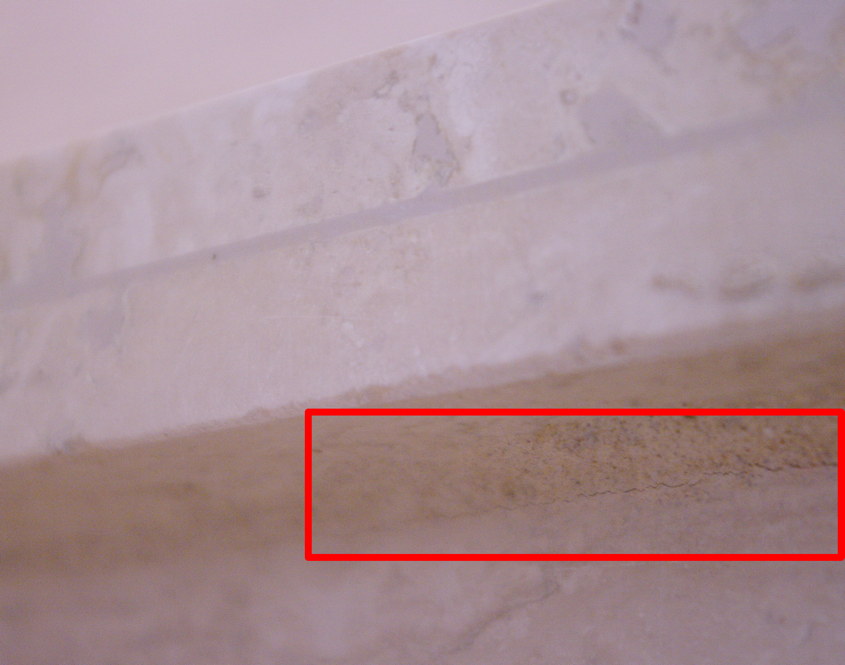
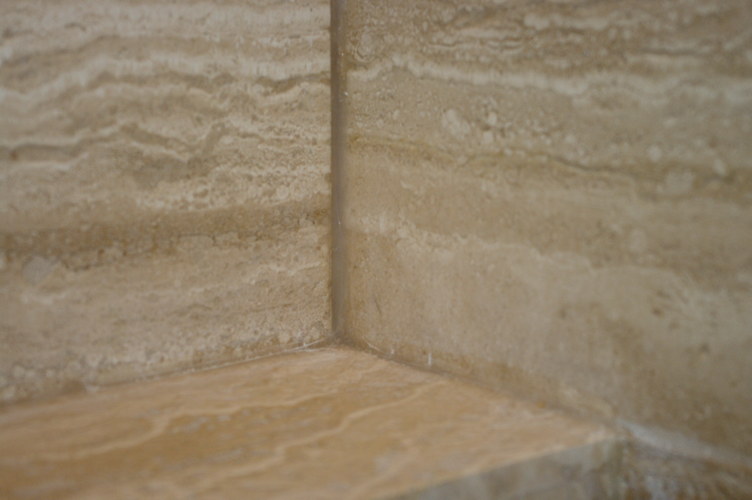
The issue with grout is not so much that it cracks, but that is has no accommodation for expansion movement like any masonry based product. Every concrete building has steel rebar to counteract the expansion forces. This has nothing to do with the way it was installed, it is just a characteristic of a home with a wood frame that moves with seasonal humidity fluctuations. Everything moves even to such a small degree as seen in the photo above. Look how small the horizontal crack is. So during your installation, you must plan for this eventuality. You might think bah, that crack is tiny, whats the worry? I can tell you that it is big enough for water to enter, and that is all that matters. This scenario leading to failure is more common than you may think. The solution is twofold. Do not install grout in the corners flush to the tile because grout is so strong in compression, it does not allow for as much movement as no grout. Those walls need the ability to move towards each other without the grout in the way. It is possible that the surrounding tiles crack or adjacent grout joints to fail because of having the grout there. The best solution is to put grout a small amount the corners, and not very deep. The intention would be that the grout provides a substrate for your silicone sealant on top. It helps provide continuity, but don’t expect it to stop water.
So how is that problem addressed?
It is actually quite simple and for those of you who have older showers, you can do this too. Just make sure your tiles are as clean as the day they were installed. You must have no soap scum on the surface or it wont work, so give it a good scrubbing. Just install thick dose of silicone sealant on top of that grout, and that should be the finished product. It is definitely most difficult to tool the silicone over natural stones like this one, and doesn’t provides the cleanest look. In this scenario the walls can move and the joint will not delaminate or crack as silicone can accommodate the movement.

Just a note about the silicone: Quality tile stores sell acrylic sealant that closely matches the colours available. That is great, but the only issue is that acrylic sealants don’t accommodate movement as well, and have a much smaller service life especially in regards to mould. The mould will appear much quicker if it is in contact with a lot of water which looks disgusting. This is not “A” brand vs “B” brand, it is just the properties of the acrylic, additives included. Silicone is the best choice, however the palate is very limited to about five colours. My favourite silicone is “GE silicone II” sold almost everywhere, but it is more expensive at about $5-6 each. Two tubes should do an entire shower with some left over. If your shower or bathtub drains correctly, the silicone can last upwards of 20 years or more.
Create a drip edge using silicone

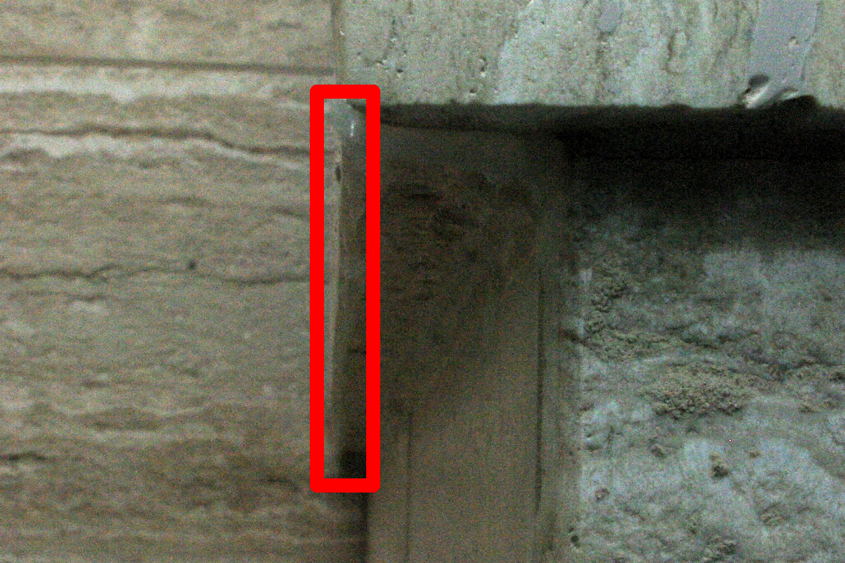
In addition to putting silicone in the corners, applying a bead of silicone under the edge of the lip creates a drip edge that ensures that water doesn’t run down the wall, but instead falls straight into the pan. Don’t expect your contractor to do this unless you ask for it. Drip edges are vitally important for reducing water entry into a wall. Drip edges can also be created during the installation by cutting a thin line (saw blade thickness) on the underside of the tile where the lip is exposed. I don’t like this method as much, because in a shower setting, not everyone remembers to seal the tiles in the new crevasse that was created with the saw blade, which is hard to do.
- Always use silicone in the corners of every shower
- Silicone is better than acrylic sealant in terms of mould resistance
- Dont use grout in the corners of the shower to the finished edge. Given enough time, they will crack
- Always overlap shower benches and knee wall lips
- Create drip edges under knee walls and shower benches

